10 Stunning Origami Paper Creations You Can Master in Minutes
Origami Paper

Table of Contents
Toggle“10 Stunning Origami Paper Creations You Can Master in Minutes”
Introduction:
Origami paper creations are artistic forms made by folding paper in specific patterns without using cuts, glue, or additional materials. Originating from Japan, origami (from “ori” meaning folding and “kami” meaning paper) has become a popular craft worldwide.
Traditional origami involves folding a single square piece of paper into various shapes, such as animals, flowers, or geometric designs. The folds are made systematically to transform the flat sheet into a 3D object, often with complex and intricate details.
Modern origami can be more elaborate, incorporating multiple sheets of paper or even mathematical principles to create highly detailed or abstract designs. It’s a creative and meditative art form that combines patience, precision, and imagination. Click here

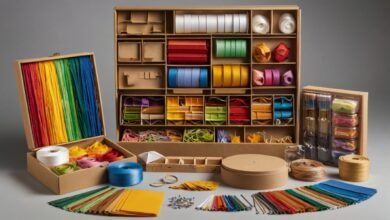
The Importance of Origami Paper:
Before diving into the specific creations, it’s important to choose the right origami paper. Origami paper is thinner and more flexile than regular paper so that it folds easily and allows lines to remain crisp and clean. Available in a variety of colors, textures, and sizes, origami paper can enhance the final appearance of your designs. For the best results, you’ll want to use high-quality origami paper that is either single-colored or patterned on one side, and white on the other.
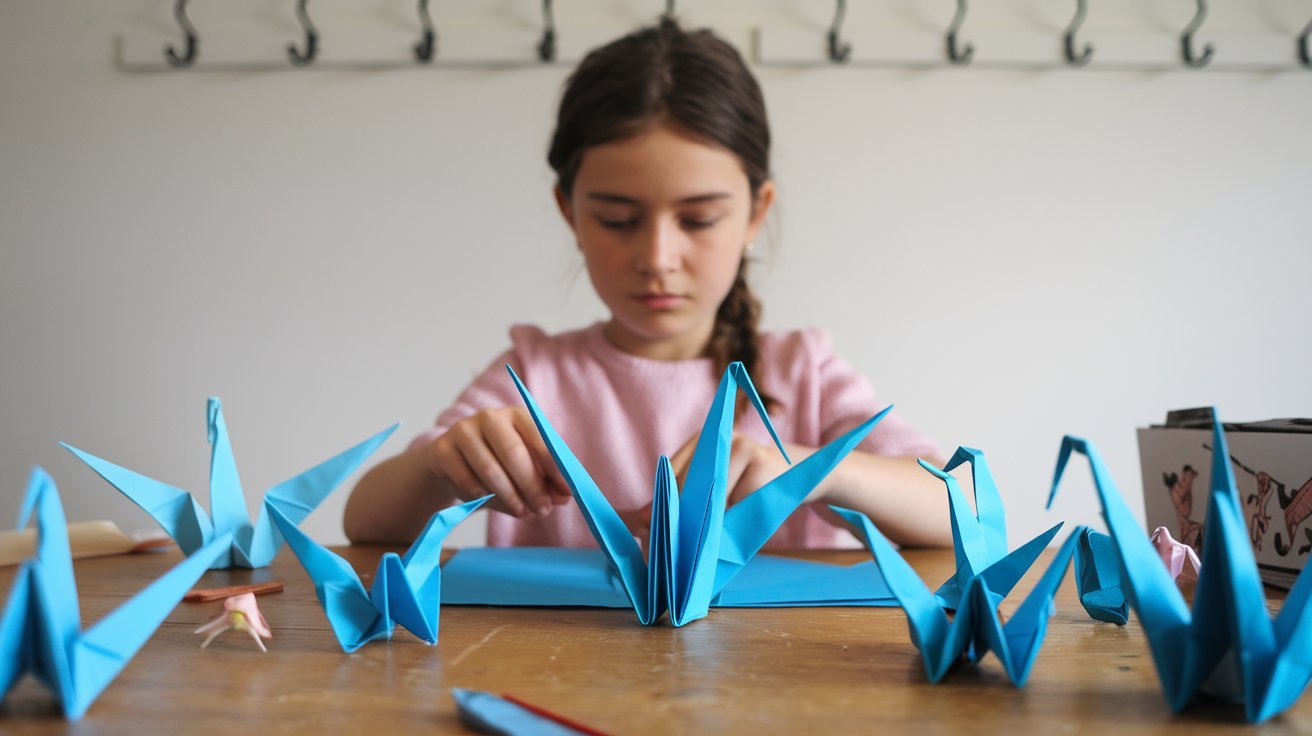
1. The Classic Crane;
One of the most famous and iconic origami designs, the crane symbolizes peace and good fortune in Japanese culture. The beauty of the crane lies in its simplicity, making it an excellent project for beginners. All you need is a square piece of origami paper, typically 15cm x 15cm, to create this elegant bird.
Step-by-Step Folding Process:
- 1. Start with a square origami paper piece with the colored side facing up.
- Fold it diagonally in both directions to create creases.
- Collapse the paper into a square base by bringing the corners together.
- Make two preliminary folds to form the bird base.
- Fold the wings, tail, and head of the crane carefully to complete the figure.
Time to Master: 5 minutes.
The crane is not just a symbol but also a beautiful display piece. With vibrant origami paper, you can make cranes in different colors and sizes. Advanced folders often aim to create 1,000 cranes as a testament to patience and skill, but even just a few can add a decorative touch to your home or office.
2. The Paper Boat:
The paper boat is a classic childhood favorite that evokes memories of making little boats to float in puddles or streams. Now fold this cute and simple model with a few folds. For this design, using waterproof origami paper can make your boat more durable if you want to actually float it on water.
Step-by-Step Folding Process:
- Take a rectangular sheet of origami paper.
- Fold the paper in half horizontally, then again vertically.
- Create a triangle on both sides by folding in the corners.
- Flatten the paper and pull the edges to form a boat shape.
Time to Master: 3 minutes.
While it may not be the most intricate design, the paper boat holds a certain charm. Choose origami paper with a nautical theme or bright colors to add a fun twist. These boats can also be used as placeholders for themed parties or simply as toys for children.
3. The Fortune Teller (Cootie Catcher):
The fortune teller, also known as the cootie catcher, is an interactive origami creation that lets you add a fun, personalized touch. It’s a great project for kids and adults alike, allowing you to write fun fortunes, questions, or challenges under the folds.
Step-by-Step Folding Process:
- Use a square piece of origami paper and fold it diagonally to create creases.
- Fold all four corners to the center of the paper.
- Flip the paper over and repeat the process.
- Fold the paper in half and push your fingers under the flaps to finish the paper fortune teller.
Time to Master: 5 minutes.
The origami paper you choose can be plain, but using patterned or pastel-colored paper will add a decorative flair to your fortune teller. Personalize it by writing fortunes, fun trivia, or challenges for friends to play with.
4. The Butterfly:
Perhaps one of the most beautiful origami creations is the butterfly. With a few folds, you can create a delicate butterfly that looks stunning when made with brightly colored or patterned origami paper.
Step-by-Step Folding Process:
- Origami Paper Square Formed Fold a square paper diagonally to create two creases forming a triangle.
- Fold the paper in half, then pull the sides inward to form a triangle.
- Shape the wings by folding and adjusting the corners until you have a symmetrical butterfly.
Time to Master: 6 minutes.
Butterflies made with metallic or gradient origami paper can look particularly beautiful when used as room decor, attached to greeting cards, or hung on a mobile. Experiment with different sizes and colors to create a fluttering collection of paper butterflies.
5. The Jumping Frog:
The jumping frog is a fun and easy-to-make origami project that comes to life when pressed down and released. Using sturdy origami paper is key to ensuring that the frog holds its shape and jumps well.
Step-by-Step Folding Process:
- Origami Paper Rectangular Formed Begin with a rectangular paper form.
- Fold the paper in half, then create the frog’s body by making several simple folds.
- Shape the legs and feet to give your frog that characteristic look.
- Press on the frog’s back to make it jump.
Time to Master: 4 minutes.
The jumping frog is not only easy to fold, but it’s also a playful model that you can race with friends. Choose origami paper in green or other earthy tones to give your frog a natural look, or go bold with neon colors for a whimsical twist.
6. The Heart:
Origami hearts are perfect for showing love or appreciation in a thoughtful, handcrafted way. These hearts can be used as decorations, included in notes, or even as gift wrap accents. Using origami paper in red or pink will enhance the symbolism of the heart.
Step-by-Step Folding Process:
- Start with a square origami paper.
- Fold it diagonally to create creases, then fold it in half horizontally.
- Shape the top corners and bottom point to create the heart shape.
Time to Master: 3 minutes.
These small origami paper hearts are perfect for adding to cards, love notes, or even as tokens for special occasions like weddings or anniversaries. You can also craft them in various sizes to make a garland of hearts.
7. The Tulip Flower:
A tulip flower made from origami paper is a lovely way to bring nature into your home without the need for water or sunlight. This design, while simple, looks stunning in bright, floral-themed origami paper.
Step-by-Step Folding Process:
- Begin with a square sheet of origami paper, fold it diagonally to create creases.
- Fold the sides in to create the petals of the tulip.
- Use a second piece of origami paper for the stem, which is folded into a narrow tube.
- Attach the stem to the flower to complete the tulip.
Time to Master: 6 minutes.
Origami tulips can be used to decorate a desk, go into a bouquet, or be a gift for an origami lover as a good alternative gift idea. Try using origami paper with floral prints to give the flowers a more vibrant and lifelike appearance.
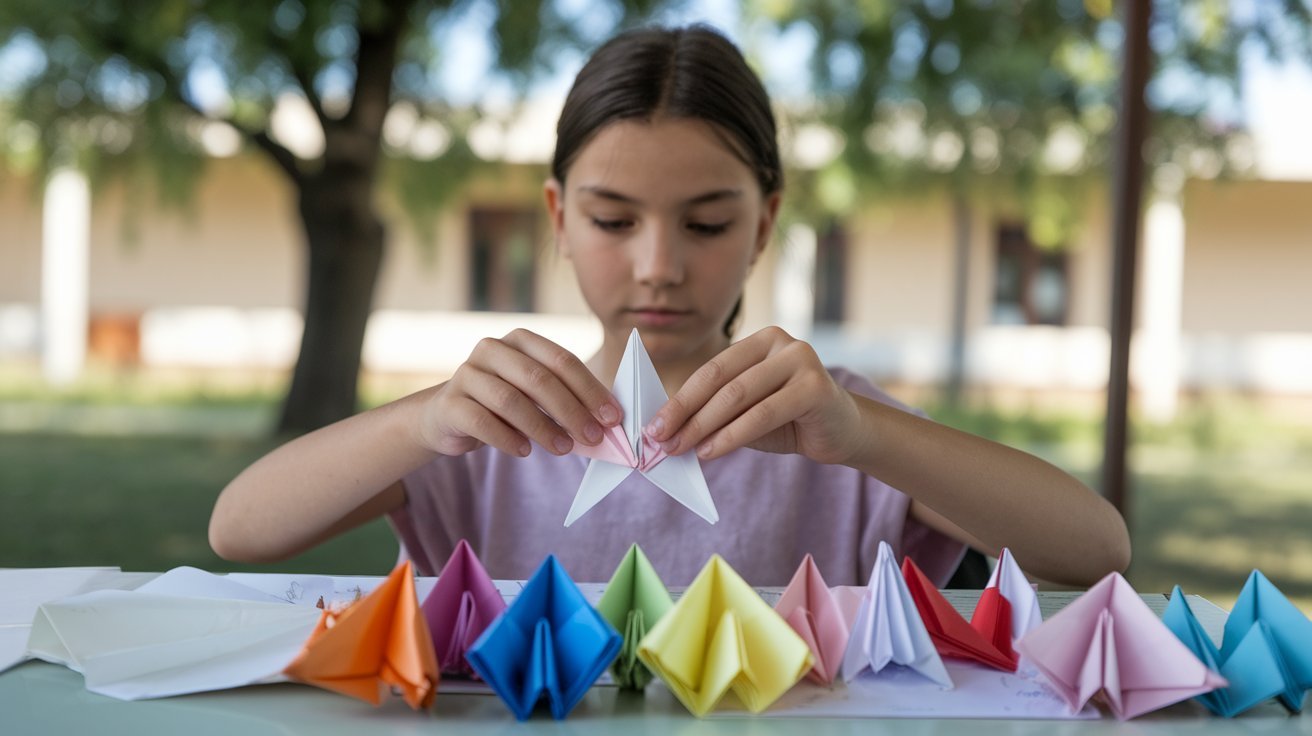
8. The Star:
Origami stars are popular for decorations, especially during holidays or special events. These stars are easy to make and can be strung together to create garlands. Using metallic or glittered origami paper makes them shine even more.
Step-by-Step Folding Process:
- Begin with a strip of origami paper, folding it into a pentagon shape.
- Press the edges to create the points of the star.
- Adjust the folds to ensure the star is even and symmetrical.
Time to Master: 4 minutes.
These stars can be used to decorate Christmas trees, garlands, or even party spaces. Choose origami paper in festive colors like gold, silver, or red for an eye-catching display.
9. The Penguin:
This charming origami penguin is an adorable design that’s perfect for both beginners and children. It’s especially fun to create a family of penguins with different sizes of origami paper.
Step-by-Step Folding Process:
- Start with a square piece of black-and-white origami paper for the traditional penguin look.
- Fold the paper to create the penguin’s body and wings.
- Shape the head and add small details for the feet and beak.
Time to Master: 7 minutes.
Penguins crafted with origami paper can be used as fun decorations, gifts, or even playtime companions for children. You can also experiment with different colors and patterns to make a more whimsical version of the penguin.
10. The Bookmark Corner:
This
functional and cute origami creation is perfect for book lovers. A corner bookmark made from origami paper is easy to personalize and decorate, making it a unique gift for anyone who enjoys reading.
Step-by-Step Folding Process:
- Start with a square piece of origami paper and fold it in half to form a triangle.
- Now fold the corners up to form the pocket where the page corner will go.
- Decorate your bookmark with drawings, stickers, or additional paper.
Time to Master: 2 minutes.
Using origami paper with patterns or designs adds a fun, personalized touch to your bookmark. You can make several bookmarks in different colors or themes to suit the book you’re reading or give them away as thoughtful gifts.
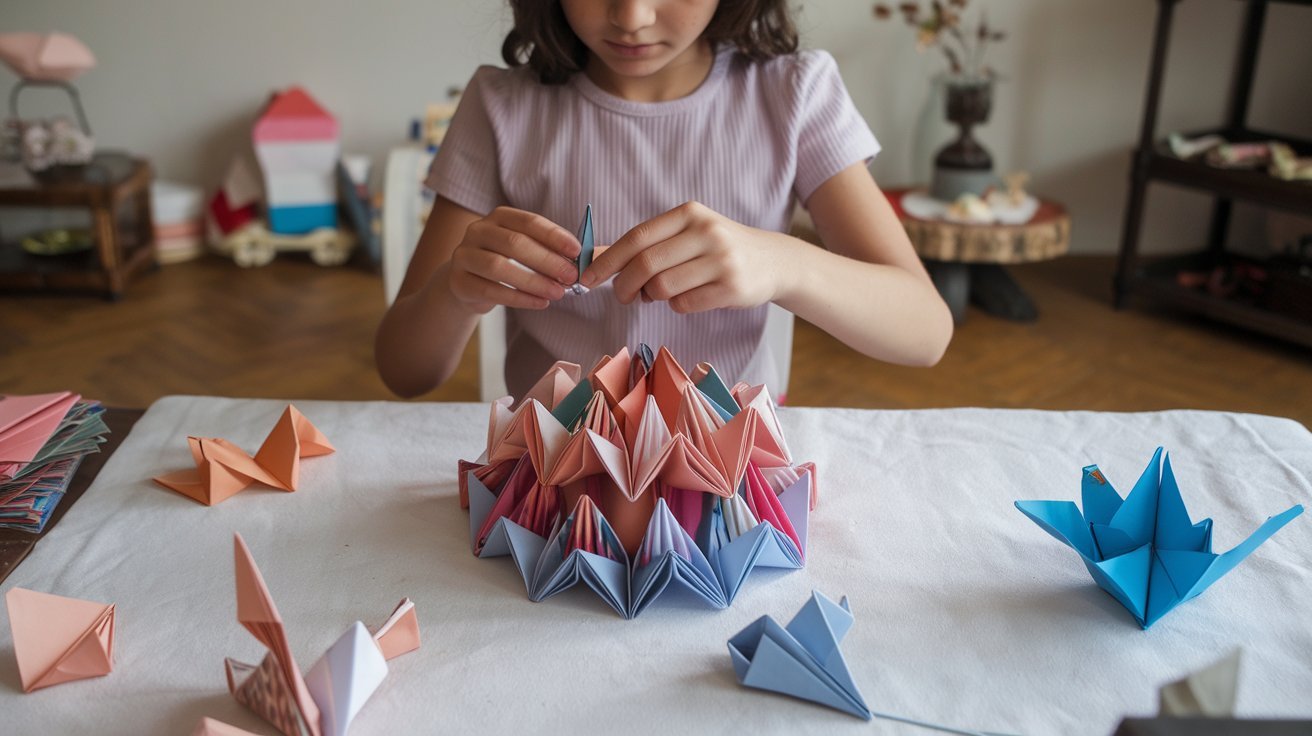
Conclusion:
Origami is a fun, creative, and meditative activity that can be enjoyed by people of all ages. With just a few minutes and some high-quality origami paper, you can create stunning designs that are both functional and decorative. These 10 projects are perfect for beginners and those looking for quick, satisfying results. So grab your origami paper and start folding today! Feel free to experiment with different patterns, colors, and textures to make each creation truly your own.